How To Install Discourse (Linux)
I love Discourse. Why? It’s Open Source, Free & very easy to install (if you know how). Follow this guide to have your own Discourse forum up and running in no time!
Prerequisites
Before diving into the installation, ensure you have the following:
- A domain name for your Discourse forum.
- An email service to set up notifications.
- A fresh Linux server with at least 1GB of RAM (2GB recommended), running a Debian/Ubuntu-based distribution.
- Access to the terminal and root privileges. – Use Putty
Step-by-Step Installation Guide
1. Prepare Your Domain Name
Make sure your domain name’s DNS records are updated properly. You need to set up the following records:
Arecord pointing to your server’s IP address.wwwArecord pointing to your server’s IP address.
2. Set Up Email
Discourse requires an email service to function correctly for user registration and notifications. You can use services like Mailgun, SendGrid, or any SMTP service.

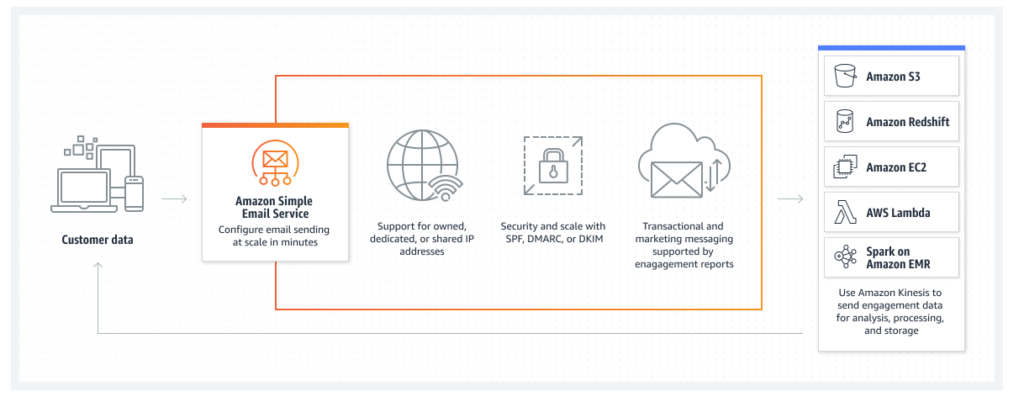
I am using Amazon SES Service.
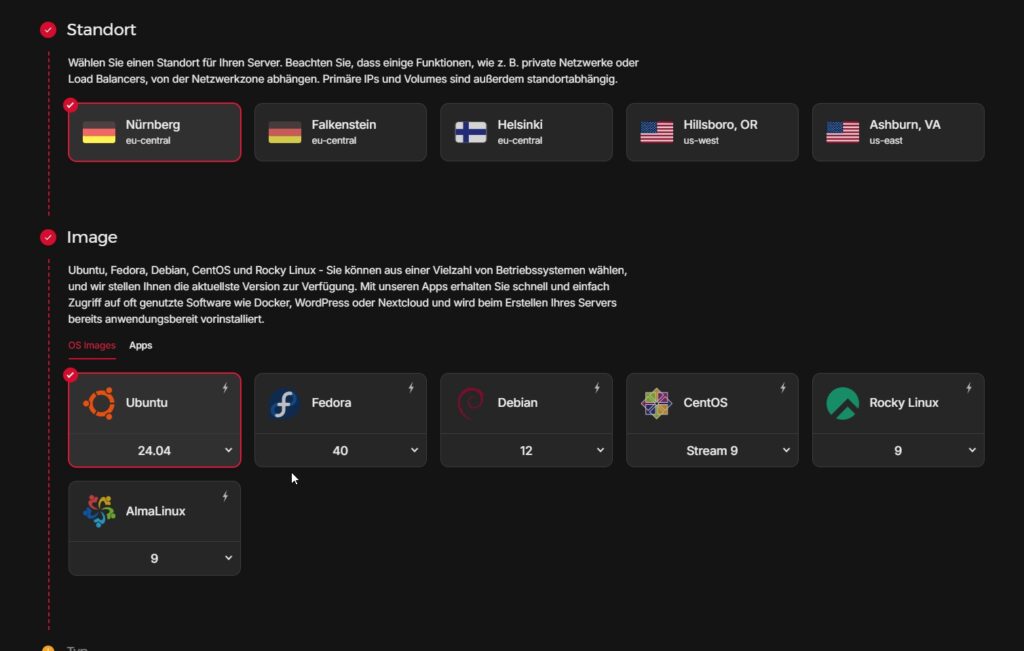
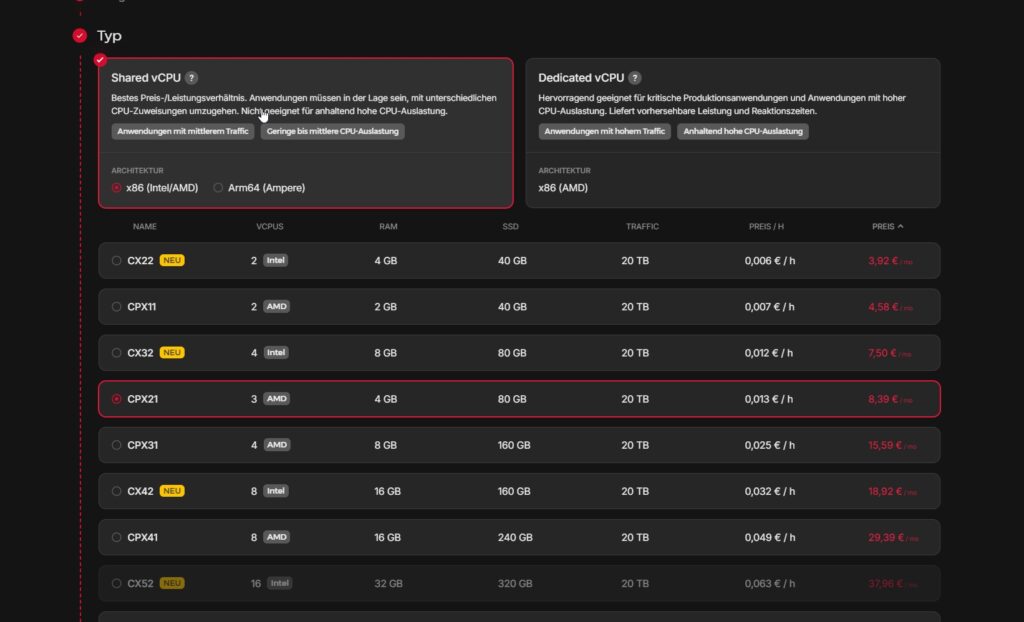
3. Create A New Cloud Server
You can use cloud providers like DigitalOcean, AWS, or any other. Create a new server instance with at least 1GB RAM.


4. Access Your Cloud Server
Use SSH to access your cloud server. Open your terminal and type:
ssh root@your_server_ip5. Install Prerequisites for Docker
Ensure your Linux server has Docker installed before proceeding. If Docker isn’t already installed, use the following commands:
sudo apt update
sudo apt install docker.io
sudo apt install git
6. Install Discourse
Clone the official Discourse Docker image and set it up:
sudo -s
git clone https://github.com/discourse/discourse_docker.git /var/discourse
cd /var/discourse
chmod 700 containers
7. Edit Discourse Configuration
Navigate to the Discourse directory and run the setup script:
cd /var/discourse
./discourse-setup
During the setup, you will be prompted to enter your domain name, email details, and other configurations. The setup script will handle most things for you but make sure to have your SMTP server details handy.

Now, this might take a couple of minutes!
8. Start Discourse
Now, let’s bootstrap Discourse. This process will take a few minutes:
./launcher bootstrap app
./launcher start app
Once completed, you should be able to access your Discourse forum via your domain name.
9. Register New Account and Become Admin
Open your Discourse site in a web browser. You will be prompted to create the first account, which will be granted admin privileges. Follow the on-screen instructions to complete the registration.

10. Post-Install Maintenance
To keep your Discourse instance secure and up-to-date:
- Enable automatic updates:
dpkg-reconfigure -plow unattended-upgrades - Set up
fail2banto protect against brute force attacks:sudo apt install fail2ban - Configure your firewall using
ufwfor Ubuntu:1 2 3 4 5 sudo apt install ufw sudo ufw allow ssh sudo ufw allow http sudo ufw allow https sudo ufw enable
Conclusion

Congratulations! You now have a fully functional Discourse forum running on your Linux server. Remember to keep your server updated and secured. Explore the myriad of plugins and customization options to tailor your forum to your needs.
For more detailed configuration and troubleshooting, check the official Discourse GitHub repository


