Production
FL Studio Template Setup Guide: From Download to First Track
Get the most out of your free FL Studio Template. Learn how to customize the template, understand the routing, and start producing faster with professional organization.
6 min read
FL Studio Template Setup Guide: From Download to First Track
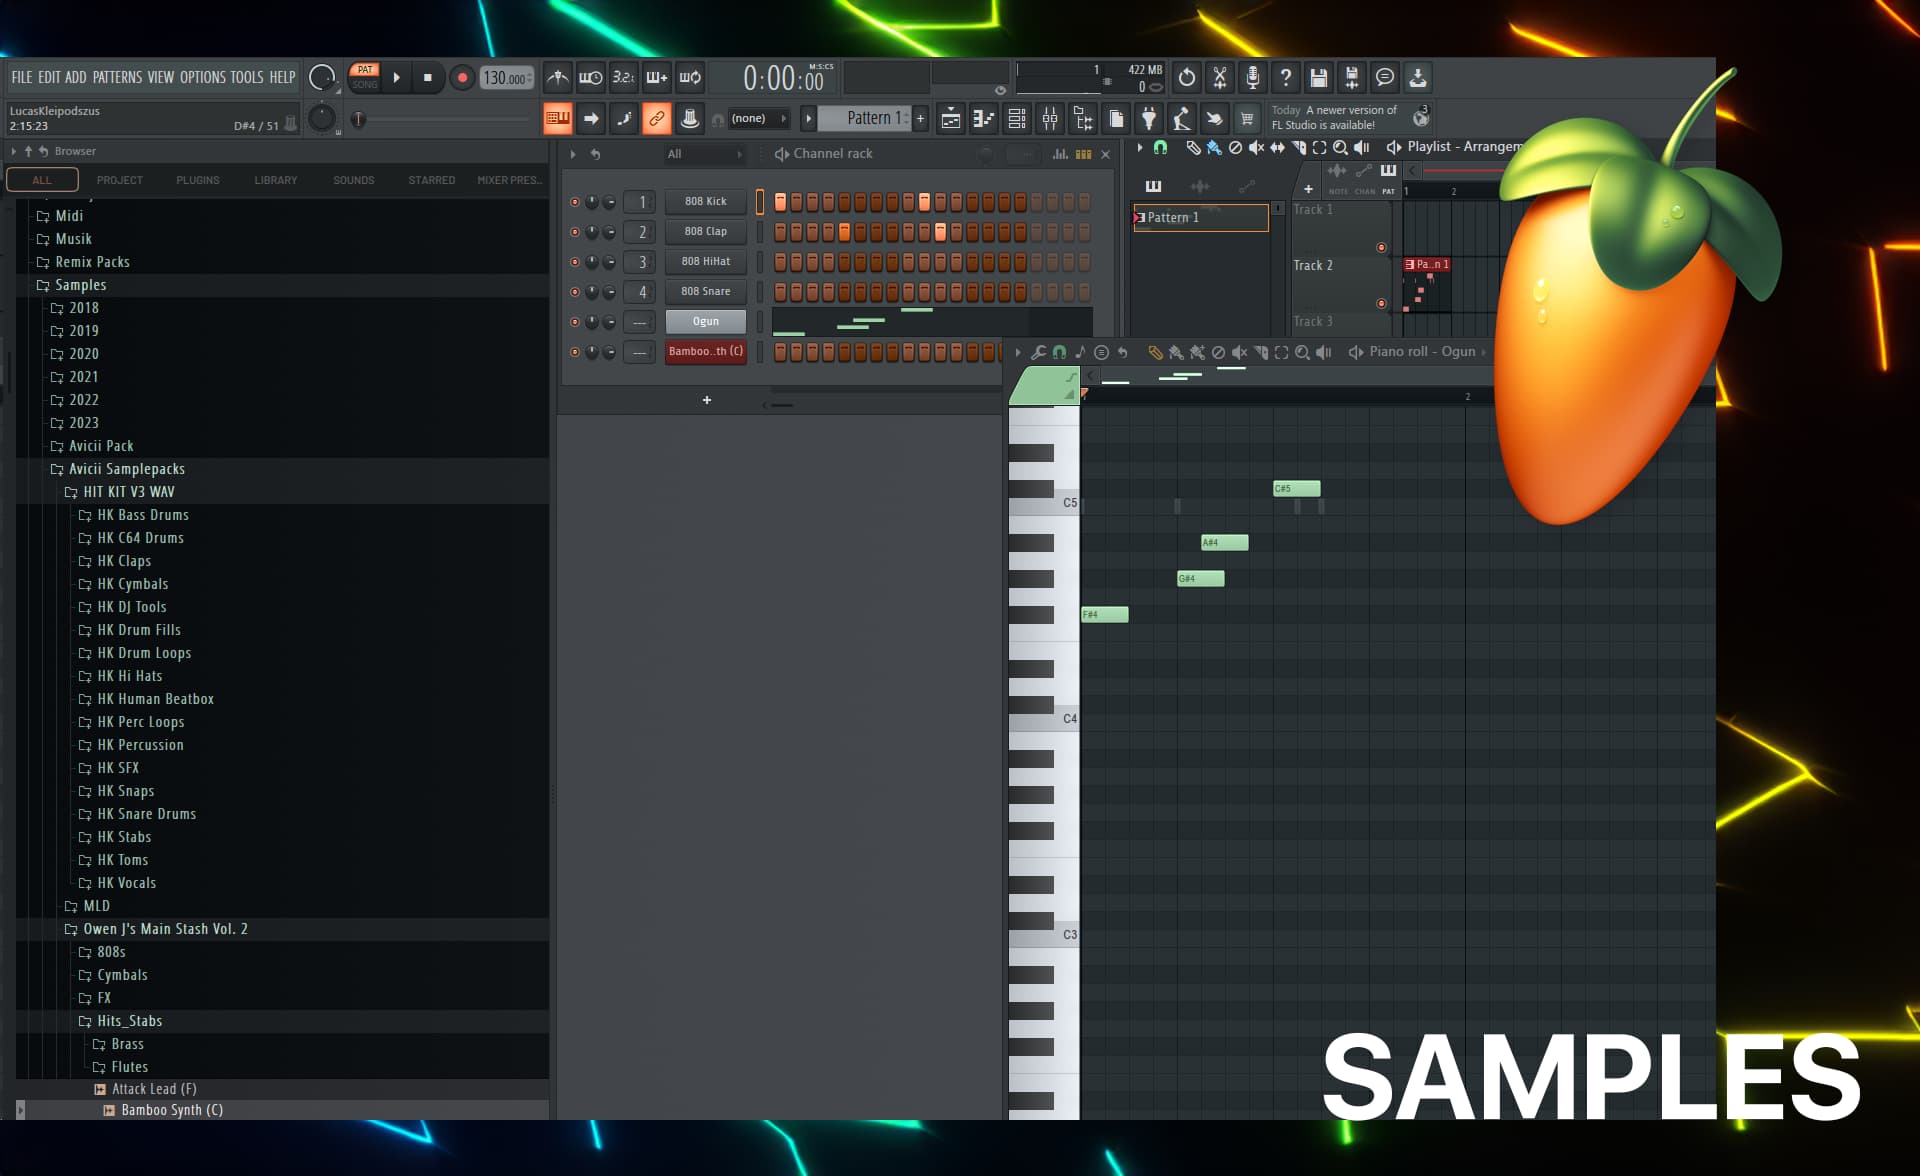
You've downloaded the Professional FL Studio Template—excellent choice! This guide will walk you through everything from installation to creating your first track with professional-grade organization.
What You Get
The template includes:
- 32 color-coded mixer channels with professional labels
- Pre-routed bus groups (Drums, Synths, Vocals, FX)
- 50+ custom presets for 3xOsc, Sytrus, and Maximus
- Sidechain routing already configured
- Reference track setup for A/B comparison
Installation and Setup
Step 1: Download the Template
File: livvux-fl-studio-template.flp
Size: ~8.4 MB
Format: FL Studio Project File (.flp)
Step 2: Place in Templates Folder
Windows:
Documents\Image-Line\FL Studio\Templates\Livvux/
Mac:
~/Documents/Image-Line/FL Studio/Templates/Livvux/
Create the folder if it doesn't exist:
- Navigate to your Documents folder
- Find or create:
Image-Line/FL Studio/Templates/ - Create new folder:
Livvux - Copy the .flp file into this folder
Step 3: Launch FL Studio
Access the template:
- Open FL Studio
- File > New from Template > Livvux > Professional Template
- The template loads with all channels and routing ready
Understanding the Template Structure
The Mixer Layout
Visual Overview:
Channels 1-4:    Master Busses (Gray)
Channels 5-12:   Drums (Red/Orange)
Channels 13-16:  Bass (Purple)
Channels 17-24:  Synths (Yellow)
Channels 25-28:  Vocals (Green)
Channels 29-32:  Effects (Blue)
Detailed Channel Guide
Master Section (1-4):
1: Master - Final output, keep at 0dB
2: Drums Bus - All drums route here
3: Synths Bus - All synths route here
4: Vocals Bus - All vocals route here
Drum Channels (5-12):
5:  Kick - Main kick drum
6:  Snare - Snare/clap
7:  Hi-Hats Closed
8:  Hi-Hats Open
9:  Percussion 1
10: Percussion 2
11: Cymbals/Crashes
12: Drum Room (Reverb send)
Bass Channels (13-16):
13: Sub Bass - Low-end foundation
14: Mid Bass - Character and movement
15: Bass Layer - Additional texture
16: Bass Bus - Combined bass processing
Synth Channels (17-24):
17: Lead Main - Primary melody
18: Lead Layer - Top-end shimmer
19: Chords Main - Chord progression
20: Chords Layer - Pad/texture
21: Arp/Pluck - Rhythmic elements
22: Pad - Atmospheric layer
23: FX/Sweeps - Transitions
24: Synth Bus - Combined processing
Vocal Channels (25-28):
25: Lead Vocal
26: Vocal Layer - Doubles/harmonies
27: Vocal FX - Chops/processed
28: Vocal Bus - Combined processing
Effect Returns (29-32):
29: Reverb Short - Room ambience
30: Reverb Long - Hall/Plate
31: Delay - Echo effects
32: Master FX - Final processing
Customizing the Template
Making It Yours
Step 1: Save a Copy
Before customizing, save a backup:
- File > Save As
- Name: "Livvux Template - ORIGINAL"
- Now customize the working version
Step 2: Adjust the Color Scheme
If you prefer different colors:
- Right-click any mixer channel
- Color > Select Color
- Choose your preferred color
- Save as new template
Step 3: Modify Presets
Customizing 3xOsc Presets:
- Open 3xOsc on any channel
- Adjust settings to your taste
- Click the plugin menu (top-left arrow)
- Save preset as... > Name it
- Store in:
Documents/Image-Line/FL Studio/Presets/Plugin name/My Presets/
Creating Your Own Bass Sound:
Starting from the template bass:
- Open channel 13 (Sub Bass)
- Modify oscillator settings
- Adjust filter envelope
- Save as "My Sub Bass v1"
Adding Your Favorite Plugins
Step 1: Replace Stock Plugins
Example: Replacing Fruity Reverb 2 with Valhalla Supermassive:
- Go to Reverb Short channel (29)
- Right-click Fruity Reverb 2
- Replace with > Valhalla Supermassive
- Adjust settings
- Save template
Step 2: Update Routing
If your plugin has different routing needs:
- Check the mixer routing view
- Adjust sends if necessary
- Test with audio playing
Using the Template Effectively
Your First Track with the Template
Starting a New Project:
-
Load the template
File > New from Template > Livvux > Professional Template -
Set project info
Project Name: My First Track BPM: 128 Time Signature: 4/4 -
Create drum pattern
Channel 5 (Kick): Program 4-on-the-floor Channel 6 (Snare): Add on beats 2 and 4 Channel 7 (Hats): Program 8th notes -
Design bass
Channel 13 (Sub): Root notes only Channel 14 (Mid Bass): Follow chord progression -
Add melody
Channel 17 (Lead): Create main hook
Channel 19 (Chords): Program progression
Workflow Integration
Phase 1: Sound Selection (15 minutes)
- Load template
- Browse presets in each channel
- Replace sounds that don't fit
- Keep what works
Phase 2: Pattern Creation (30 minutes)
- Program drums
- Write bassline
- Create chord progression
- Add lead melody
Phase 3: Arrangement (20 minutes)
- Copy patterns to playlist
- Arrange into song structure
- Add automation
- Create transitions
Phase 4: Mixing (25 minutes)
- Adjust levels using template routing
- Apply EQ as needed
- Check sidechain is working
- Add effects
Total time: ~90 minutes for first draft
Understanding the Bus System
Why Buses Matter
Benefits:
- Process multiple channels together
- Create glue and cohesion
- Easier mixing workflow
- Consistent sound
How the Buses Work
Drums Bus (Channel 2):
All drum channels (5-12) → Drums Bus (2) → Master

Processing on Drums Bus:
- Light compression (glue)
- EQ for overall drum tone
- Stereo enhancement
Synths Bus (Channel 3):
All synth channels (17-24) → Synths Bus (3) → Master

Processing on Synths Bus:
- Limiting (protection)
- EQ for clarity
- Stereo widening
Vocals Bus (Channel 4):
All vocal channels (25-28) → Vocals Bus (4) → Master

Processing on Vocals Bus:
- Compression
- EQ for presence
- Reverb
Customizing Bus Processing
Adjusting the Drums Bus:
- Select channel 2 (Drums Bus)
- Open Maximus (already loaded)
- Adjust threshold for more/less compression
- Fine-tune EQ settings
- Save preset if you like it
Creating Your Own Bus Sound:
- Mute all buses
- Solo one bus at a time
- Adjust processing to taste
- Compare with reference tracks
- Save settings as presets
Preset Library Deep Dive
3xOsc Presets Included
Lead Pluck:
Osc 1: Saw, 4 voices, detune 10
Osc 2: Square, 2 voices, detune 5
Filter: Low-pass, cutoff modulated
Use for: Main leads, catchy hooks
Super Saw:
Osc 1: Saw, 9 voices, detune 25
Osc 2: Saw, 9 voices, detune 25, +1 octave
Use for: Big chords, festival energy
Sub Bass:
Osc 1: Sine, 1 voice
Osc 2: Triangle, 1 voice, -1 octave
Use for: Pure low-end foundation
Sytrus Presets
FM Pluck:
Operator 1: Sine carrier
Operator 2: Saw modulator, ratio 2:1
Envelope: Fast attack, medium decay
Use for: Modern leads, percussive bass
Growl Bass:
Multiple operators for complex timbre
Distortion in FX section
Modulation wheel mapped to filter
Use for: Dubstep, heavier genres
Maximus Presets
Drum Glue:
Low: Compression 3:1
Mid: Light compression 2:1
High: Very light 1.5:1
Master: Saturation +1dB
Bass Control:
Low: Heavy compression 6:1
Mid: Moderate 4:1
High: Light 2:1
Master: Soft clip enabled
Sidechain Configuration
How It's Set Up
Pre-configured routing:
Kick (ch 5) → Sidechain input on Bass (ch 13)
Amount: 60%

Kick (ch 5) → Sidechain input on Chords (ch 19)
Amount: 25% (subtle)
Adjusting Sidechain
Make it pump more:
- Open bass channel (13)
- Open Fruity Limiter
- Sidechain tab
- Lower threshold (more reduction)
- Adjust release time
Make it more subtle:
- Same process as above
- Raise threshold (less reduction)
- Or reduce amount to 40%
Adding More Sidechain
Route kick to pads:
- Open pad channel (22)
- Add Fruity Limiter
- Sidechain tab → Select Kick
- Set amount to 20%
- Adjust to taste
Reference Track Setup
Using Channel 32
The Reference System:
- Channel 32 is set up for reference tracks
- Route to separate output or mute/unmute
- Match volume levels before comparing
How to Use:
-
Load reference
Import MP3/WAV to Channel 32 -
Match volume
Play your track Play reference Adjust reference fader to match perceived loudness -
Compare
Mute your mix, listen to reference
Mute reference, listen to your mix
Note differences in:
- Low-end balance
- High-end presence
- Vocal level
- Overall energy
Best Practices
Volume Matching:
- This is critical! Louder always sounds "better"
- Use LUFS meter if available
- Or trust your ears at moderate volume
What to Compare:
- Low-end: Kick and bass relationship
- Mids: Clarity and presence
- Highs: Air and shimmer
- Stereo width
- Overall compression
Troubleshooting
Common Issues
"No sound from a channel"
- Check routing (should go to bus, then master)
- Verify channel isn't muted
- Check plugin bypass states
- Confirm mixer channel volume is up
"Effects too heavy"
- Reduce send levels to reverb/delay
- Adjust wet/dry ratios on effects
- Disable unnecessary plugins
"CPU overload"
- Freeze heavy channels (right-click > Freeze)
- Increase buffer size in audio settings
- Disable unused effects
- Bounce to audio when done editing
Template Won't Load
Check FL Studio version:
- Template requires FL Studio 20.8 or later
- Update if necessary
Missing plugins:
- If using modified version with third-party plugins
- Install missing plugins
- Or use stock-only version
Advanced Customization
Creating Multiple Templates
Genre-Specific Templates:
House Template:
- Remove heavy bass presets
- Add more percussion channels
- Configure for 4/4 groove
Techno Template:
- Add industrial percussion
- Configure darker synth sounds
- Set up for minimal arrangement
Pop Template:
- Add more vocal channels
- Configure for vocal-centric mixing
- Add harmony/aux tracks
Template Evolution
Version Control:
Livvux Template v1.0 - Initial setup
Livvux Template v1.1 - Added vocal chain
Livvux Template v1.2 - Updated drum bus processing
Livvux Template v2.0 - Major overhaul
Track Changes: Keep a text file with your template:
Version History:
v1.0 - Initial download
v1.1 - Changed kick sample
v1.2 - Updated sidechain settings
v1.3 - Added new lead preset
Your Next Steps
Week 1: Learn the Template
Day 1-2: Explore all channels and presets Day 3-4: Create one track using the template Day 5-7: Customize to your preferences
Week 2: Make It Yours
Customize:
- Change colors if desired
- Add your favorite presets
- Adjust bus processing
- Save as "My Template v1"
Week 3: Master Your Workflow
Practice:
- Produce 3 tracks using the template
- Time yourself
- Identify bottlenecks
- Refine the workflow
Download Resources
Complete your setup:
- Music Production Checklist - 47-point workflow guide
- Avicii Production Secrets - Sound design mastery
- Suno AI Masterclass - Generate ideas
Watch Video Tutorial
See the template in action:
Questions?
How are you customizing the template? Share your setup in the comments!
Ready to produce faster? Get the template now and start creating with professional organization.
Frequently Asked Questions
No, the template uses only FL Studio stock plugins. This ensures it works out of the box without requiring additional purchases. All sounds are created using 3xOsc, Sytrus, Maximus, and other built-in plugins.
Absolutely! While the template is optimized for electronic music production, the organization and routing work for any genre. Simply replace the instruments and adjust the processing to match your style.
After customizing the template to your liking, go to File > Save as Template. Give it a descriptive name like "My House Template" or "Livvux Custom v1". This preserves your changes for future projects.
You can absolutely add third-party plugins. Simply load them into the appropriate mixer channels, adjust the routing if needed, and save as a new template. Just remember that projects using third-party plugins won't open correctly on systems without those plugins installed.
Want more Livvux songs, breakdowns, and producer diary notes?
Follow my YouTube channel for the music and the process
Stay Close to the Sound
Get new Livvux releases, track breakdowns, producer notes, and useful FL Studio or AI-assisted workflow ideas in your inbox.
About the Author

Livvux
Lucas is the producer behind Livvux, creating emotional EDM and showing the process behind the sound. Expect FL Studio workflow, AI-assisted ideas, Avicii-inspired music thinking, and personal track breakdowns.
Related Posts
Free Livvux Producer Resources
Download the checklists, guides, and templates behind my emotional EDM workflow.