Production
FL Studio Workflow Mastery Part 2: Sound Design & Sample Management
Master sound design workflow in FL Studio. Learn efficient sample management, synthesizer programming, preset organization, and techniques for creating unique sounds quickly and consistently.
8 min read
FL Studio Workflow Mastery Part 2: Sound Design & Sample Management
Welcome back to the FL Studio Workflow Mastery series! In Part 1, we covered project setup and organization. Now let's dive into sound design workflow and sample management.
The Sound Design Mindset
Efficiency vs. Exploration
Two modes of sound design:
- Exploration Mode: Messing around, discovering new sounds
- Production Mode: Creating specific sounds quickly
This article focuses on Production Mode—getting the sounds you need fast.
The 80/20 Rule of Sound Design
80% of your sounds should come from:
- Your preset library
- Favorite starting points
- Templates
20% is for:
- Sound design from scratch
- Experimentation
- Unique moments
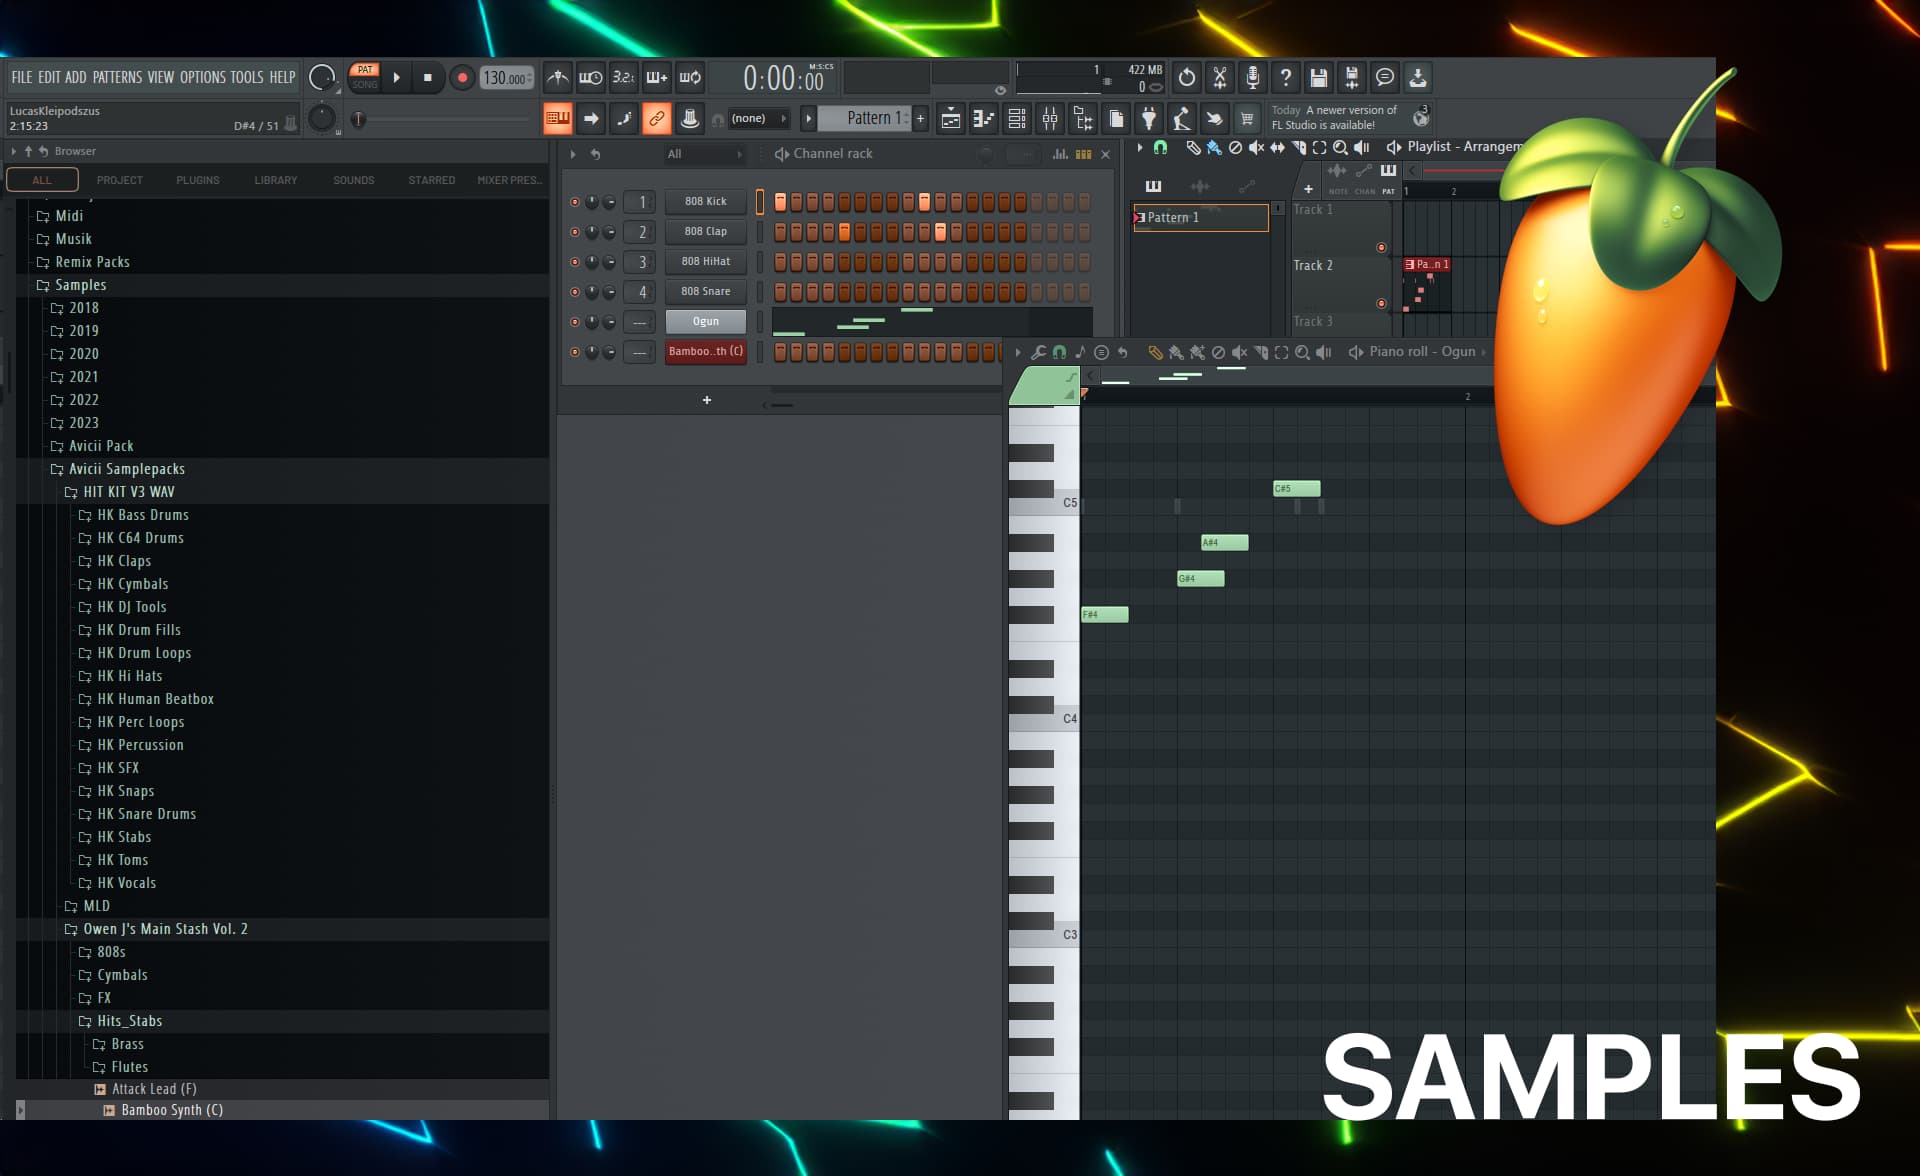
Sample Management Mastery
Browser Organization
The Perfect FL Studio Browser Setup:
📁 Current Project (changes per project)
📁 Samples (your main library)
  📁 Drums
    📁 Kicks (organized by character)
      • Punchy
      • Deep
      • Acoustic
      • Electronic
    📁 Snares
      • Tight
      • Big
      • Acoustic
      • Electronic
    📁 Hihats
      • Closed
      • Open
      • Pedal
  📁 Instruments
    📁 Bass
    📁 Synth
    📁 Keys
    📁 Guitar
  📁 Vocals
  📁 FX
  📁 Loops
📁 Favorites (your go-to sounds)
📁 Recent (auto-generated)
📁 Plugin Presets
To add folders to browser:
- Click the small arrow next to "Plugin database"
- "Add folder"
- Navigate to your samples
- Name it clearly
The Favorite System
Mark samples as favorites:
- Right-click sample
- "Add to favorites"
Access favorites:
- Left sidebar → "Favorites" folder
- Shows your most-used sounds
Organize favorites by subfolders:
Favorites/
├── Kicks/
├── Snares/
├── Bass/
├── Leads/
└── FX/
Sample Naming Convention
Good names tell you everything:
[Brief Description]_[Key]_[BPM]_[Additional Info]

Examples:
PunchyKick_C1.wav
EtherealPad_Cmin_128bpm.wav
VocalChop_OneShot_UnknownKey.wav
Impact_Cinematic_LongTail.wav
FL Studio auto-tags:
- Key detection (works well for tonal sounds)
- BPM detection (for loops)
- Shows in browser tooltip
Quick Sample Auditioning
Speed up your workflow:
1. Click to preview:
- Single-click = preview
- Right-click → "Send to selected channel"
2. Audition with project playing:
- Load sample
- Press play
- Click different samples to audition in context
3. Use 'Recent' folder:
- Shows last 50 samples used
- Great for "where did I put that sound?"
Sample Previews in Playlist
Drag samples directly to playlist:
- Drag from browser
- Drop on track
- Auto-creates audio clip
For drum programming:
- Drag to channel rack instead
- Creates sampler channel
- Program patterns in piano roll
Preset Management Strategy
The Preset Library Structure
Create this folder structure:
Documents/Image-Line/FL Studio/Presets/
├── Plugin name/
│   ├── Init/ (starting points)
│   ├── My Presets/
│   │   ├── Bass/
│   │   ├── Leads/
│   │   ├── Pads/
│   │   └── Plucks/
│   └── Purchased/ (factory & bought)
Naming Your Presets
Use this format:
[Sound Type]_[Character]_[Genre]_[Version]

Examples:
Bass_Punchy_House_v1
Lead_SuperSaw_Trance_v2
Pad_Ambient_Cinematic_v1
Pluck_Plastic_FutureBass_v3
Add descriptions: When saving, click "Notes" and add:
- Best octave range
- Genre it fits
- How to use it
- Any special modulations
Quick Preset Access
Method 1: Plugin Database
- Open browser
- Plugin database → Generators (or Effects)
- Find your plugin
- See all presets
Method 2: Plugin Menu
- Open plugin
- Top-left menu → Presets
- Browse and load
Method 3: Arrow Keys
- Open plugin
- Click preset name display
- Up/down arrows to browse
- Enter to load
The "Init to Favorite" Workflow
When you create a great sound:
-
Test it in a track
- Does it sit well in a mix?
- Is it versatile?
-
Document settings
- Note special techniques
- Screenshot the interface
-
Save preset
- Use naming convention
- Add to appropriate folder
- Write description
-
Add to favorites
- If it's a go-to sound
- Mark in browser
Synthesizer Workflow in FL Studio
Stock Synth Overview
3xOsc (Simple but powerful):
- Best for: Basic waveforms, layering
- Strength: Light on CPU, easy to use
- Learn: Waveform blending, detuning
Sytrus (FM Synthesis):
- Best for: Metallic, complex sounds
- Strength: Extremely versatile
- Learn: FM basics, envelope routing
Harmor (Additive/Resynthesis):
- Best for: Morphing, vocal sounds
- Strength: Image synthesis
- Learn: Additive synthesis basics
Serum (Third-party powerhouse):
- Best for: Bass, leads, creative FX
- Strength: Subtractive + FM + RM oscillator modes
- Learn: Oscillator types, wavetable editing, filter drive
Sakura (Physical Modeling):
- Best for: Realistic strings, plucks
- Strength: Organic sounds
- Learn: Physical modeling basics
Fast Sound Design Workflow
The 5-Minute Sound:
-
Choose starting point (0:30)
- Load synth
- Pick preset close to target
- Or use init + basic settings
-
Shape amplitude (1:00)
- Attack (fast for plucks, slow for pads)
- Decay/Sustain/Release
- Get the character right
-
Adjust timbre (2:00)
- Oscillator shape/waveform
- Filter cutoff and resonance
- Add harmonics if needed
-
Add movement (1:00)
- LFO to pitch, filter, or amp
- Mod wheel assignment
- Envelope modulation
-
Effects and polish (0:30)
- Reverb for space
- Compression if needed
- EQ to taste
Total: 5 minutes
Sound Design Templates
Create starter templates for common sounds:
Bass Starter:
- 3xOsc: Saw wave, mono, portamento
- Fruity Parametric EQ: High-pass 30Hz
- Fruity Limiter: Soft compression
Lead Starter:
- Sytrus: Saw + Square, 8-voice unison
- Reverb: Medium room
- Delay: 1/4 note, 20% wet
Pad Starter:
- FLEX: Ambient preset category
- Chorus: Light widening
- Reverb: Large hall
Layering Strategy
When to layer:
- Sound needs more character
- Frequency spectrum is thin
- You want unique timbre
Layering workflow:
-
Create base layer
- Main tone and body
- Mono for bass, stereo for leads
-
Add top layer (optional)
- High-frequency presence
- 3-5kHz range
- Often noise or bright waveform
-
Add sub layer (for bass)
- Sine wave, -1 octave
- Pure low-end foundation
-
Blend and process
- Balance levels
- EQ each layer
- Group process
Example - Thick Bass:
- Layer 1: Mid-bass character (saw/square)
- Layer 2: Sub foundation (sine)
- Layer 3: Click/attack (noise or short waveform)
Sample-Based Instruments
Sampler Workflow (Fruity Sampler)
Creating instruments from samples:
-
Load sample
- Drag to channel rack
- Or use Sampler channel
-
Set root note
- Right-click sample → "Edit"
- Set root key (where sample plays at original pitch)
- Enable "Use pitch" for chromatic play
-
Adjust envelope
- Attack: Fade in
- Decay: Shape the body
- Sustain: Level after decay
- Release: Fade out
-
Add effects
- Filter for tone shaping
- Reverb for space
- Compression for consistency
Creating Drum Kits
Build a custom drum kit:
-
One instance per drum
- Separate channel for kick, snare, etc.
- Individual processing
-
Or use FPC (Fruity Pad Controller)
- Load FPC plugin
- Map samples to pads
- Program with MIDI
-
Or use Slicex
- Load breakbeat or loop
- Slice into individual hits
- Play with keyboard/pads
Loop Processing
Making loops your own:
-
Time stretching
- Right-click audio clip
- "Stretch" mode
- Match to project BPM
-
Chopping
- Use Slicex or Fruity Slicer
- Rearrange slices
- Create new patterns
-
Effects
- Reverb for space
- Filter for tone
- Distortion for character
-
Layering
- Add your own drums on top
- Replace weak elements
- Blend for thickness
Efficient Sound Selection
The "First Sound" Rule
Don't spend 30 minutes finding the perfect kick.
Instead:
- Pick the first kick that sounds decent
- Move on
- Come back later if needed
- Often, "good enough" works in the mix
Genre-Specific Sound Palettes
Build palettes for genres you produce:
House Music Palette:
- Kick: Punchy, 4-on-floor
- Bass: Sub + Mid layer
- Leads: Supersaw, plucks
- Chords: Piano, stabs
- FX: White noise, risers
Future Bass Palette:
- Kick: Short, snappy
- Bass: Wobbles, reese
- Leads: Vocal chops, plucks
- Chords: Supersaws
- FX: Impacts, vocal FX
Quick Auditioning Techniques
Test sounds in context:
- Have a simple loop playing
- Browse sounds while it plays
- Audition by clicking
- Load what fits
Use MIDI clips:
- Create MIDI pattern
- Assign to different sounds
- Hear same melody with different timbres
- Pick best match
Creative Sound Design Workflow
When to Design from Scratch
Design from init when:
- You need a very specific sound
- You're learning synthesis
- You're exploring creatively
- Stock presets don't work
Start from preset when:
- You need a sound quickly
- The preset is 80% there
- You're in production mode
The Sound Design Session
Dedicated sound design time:
Weekly routine:
- Set aside 1-2 hours
- No pressure to finish a track
- Explore one synth deeply
- Save 5-10 good presets
- Build your library
During production:
- Need a specific sound
- Check presets first
- Modify closest match
- Save if it's unique
- Move on
Sound Design Challenges
Weekly challenges to improve:
Week 1: Recreate a favorite sound
- Pick a sound from a track you love
- Try to recreate it
- Learn new techniques
Week 2: One synth only
- Produce using only 3xOsc
- Forces creative problem-solving
- Builds fundamental skills
Week 3: No presets
- Everything from init
- Pure sound design practice
- Builds synthesis knowledge
Week 4: Sample-based
- Only use samples
- No synths
- Creative sampling techniques
Preset Sharing and Collaboration
Exporting Presets
Share your presets:
-
Locate preset file:
Documents/Image-Line/FL Studio/Presets/ [Plugin name]/My Presets/ -
Copy the .fst file
-
Share with collaborators
Note: They need the same plugin version
Creating Preset Packs
Build your own sound pack:
- Curate 20-30 best presets
- Organize by category
- Create documentation
- Add demo MIDI files
- Share with community
Using Preset Packs
Install preset packs:
- Download pack
- Copy to appropriate folder:
Documents/Image-Line/FL Studio/Presets/ [Plugin name]/[Pack name]/ - Refresh browser or restart FL
- Access in plugin menu
CPU Optimization
Managing Plugin Load
Heavy plugins:
- Use only when needed
- Freeze tracks when done
- Bounce to audio
Smart Disable:
Options → General Settings → Advanced →
"Don't allow disabling effects"
Uncheck this for automatic disabling
Freezing tracks:
- Right-click channel
- "Freeze" → "Freeze"
- Saves CPU, keeps editable
Bounce to Audio Workflow
When to bounce:
- Sound design is complete
- CPU is struggling
- You want to commit
How to bounce:
- Solo the channel
- Export as audio
- Import to new audio clip
- Mute original
- Keep original for later edits
Your Sound Design Action Plan
This Week's Tasks
Day 1-2: Organization
- Organize sample folders
- Clean up unused samples
- Set up favorites system
Day 3-4: Preset Library
- Create folder structure
- Save 5 best presets properly
- Document your favorites
Day 5-6: Sound Design Practice
- Pick one synth
- Create 3 sounds from scratch
- Save as presets
Day 7: Template Update
- Add favorite sounds to template
- Test workflow
- Refine organization
Download Resources
Get these free resources to accelerate your workflow:
- FL Studio Template - Professional project template
- Music Production Checklist - 47-point workflow guide
- Avicii Production Secrets - Sound design techniques
Continue Learning
In this series:
- Part 1: Project Setup & Organization
- Part 2: Sound Design & Sample Management (You are here)
- Part 3: Mixing and Export
Watch video tutorials: YouTube @livvux
Questions about sound design workflow? Drop them in the comments!
Frequently Asked Questions
Create category folders by sound type (Bass, Leads, Pads, Plucks), save presets with descriptive names including the intended genre or style, use consistent naming conventions, and organize by plugin. Create a 'Favorites' folder for your go-to sounds.
Use the browser to add your sample folders, create a consistent folder structure by type (Drums, Loops, One-shots), tag favorites for quick access, and regularly clean out unused samples. Use the 'Recent' section to find recently used sounds.
Use templates with default synths loaded, save presets for sounds you create, use the browser's search function, organize samples logically, create a favorites system, and learn synthesizer shortcuts. Start from presets and modify rather than starting from init.
FL Studio stock plugins are powerful and CPU-efficient. Start with these before investing in third-party plugins. Stock plugins like Sytrus, Harmor, and Maximus are professional quality. Add third-party plugins only when stock options can't achieve a specific sound.
Want more Livvux songs, breakdowns, and producer diary notes?
Follow my YouTube channel for the music and the process
Stay Close to the Sound
Get new Livvux releases, track breakdowns, producer notes, and useful FL Studio or AI-assisted workflow ideas in your inbox.
About the Author

Livvux
Lucas is the producer behind Livvux, creating emotional EDM and showing the process behind the sound. Expect FL Studio workflow, AI-assisted ideas, Avicii-inspired music thinking, and personal track breakdowns.
Related Posts
Free Livvux Producer Resources
Download the checklists, guides, and templates behind my emotional EDM workflow.